Elden Ring: How To Solve The Mirage Rise Riddle

A bonafide cultural phenomenon at this point, FromSoftware's global hit "Elden Ring" has been at the forefront of almost every conversation pertaining to gaming ever since its record-breaking release. With each passing day, players have explored the Lands Between in search of the various secrets that this immersive, fantastical, and dangerous in-game world is hiding. Such secrets have included illusory walls, hidden areas, and even alternative uses for weapons wielded by demigods.
But these hidden features aren't the only ways that "Elden Ring" challenges players to dive deeper. This same method can also be seen in how the game approaches its usage of riddles and puzzles. Oftentimes, the puzzles in "Elden Ring" will drive one mad in search of a solution. One such example of an infuriating riddle is the one needed to unlock the Mirage Rise and gain access to its treasure, a goal attainable should you be able to interact with three seals. Though most of it is relatively simple, there is a certain step that has consistently fooled a countless amount of gamers. If you're one of these frustrated players struggling to complete the Mirage Rise Riddle, don't worry. Here's everything you need to do in order to complete it.
The first two seals are relatively straightforward
In order to gain access to Mirage Rise, a riddle requires the player to touch three seals, also known as Phantom Crests. The Mirage Rise itself is located in Altus Plateau near the Second Church of Marika. The first seal is quite easy to find. First, find the tome that begins the puzzle. Upon interacting with it, you will be instructed to touch the Phantom Crests. This interaction also provides players with a map, but be warned — the map is flipped to 90 degrees so when consulting your main map, plan your moves accordingly. Next to this tome is the first seal, so no problems there. Interact with it and move southwest towards the cliff face.
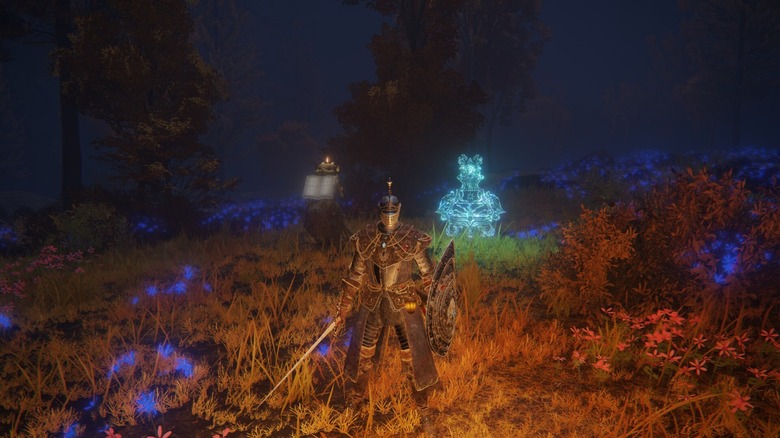
The second seal will be hard to miss, even when in misty or dark conditions, as it gives off a luminous blue glow. Use caution when approaching the second seal. Once you get close enough, gargoyles will spawn from the ground and attempt to defend it. If you wish to quickly dispatch of these enemies with little to no risk of damage to yourself, use your mount Torrent to swiftly attack them. Once you've defeated all the enemies in the vicinity, interact with the seal.
Now here's where things get tricky.
The third seal is cleverly hidden
If you've been following to this point, it's likely that you found the first two seals without so much as breaking a sweat. The third seal, however, is a lot trickier to discover and if you aren't paying attention, you'll likely drive yourself nuts trying to find it. According to TheGamesEntertainer, in order to find this seal, one must first find the broken bridge that lies between the Bower of Bounty and the Forest-Spanning Greatbridge Sites of Grace. There, you will find a thickly wooded area.
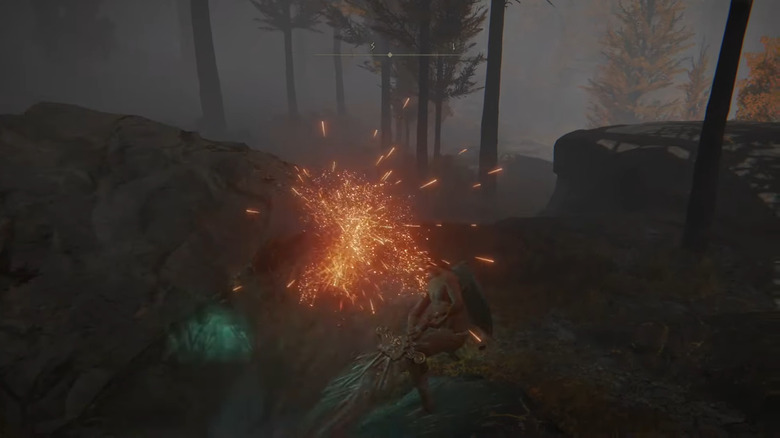
Somewhere in these woods will be a very large, rather suspicious-looking boulder. This, however, is not a boulder, but rather an illusion. Upon striking it with any weapon of your choice, its illusion will dissipate and will reveal to you the third and final seal. Interact with the seal, and the tower will be visible and accessible. All that's left to do is ascend the Mirage Rise and collect your spoils!